Home studio: Listening position
Home studio: Speakers placement
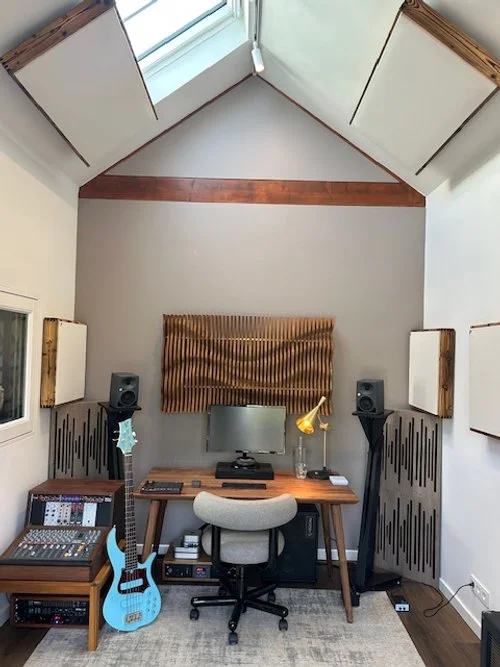
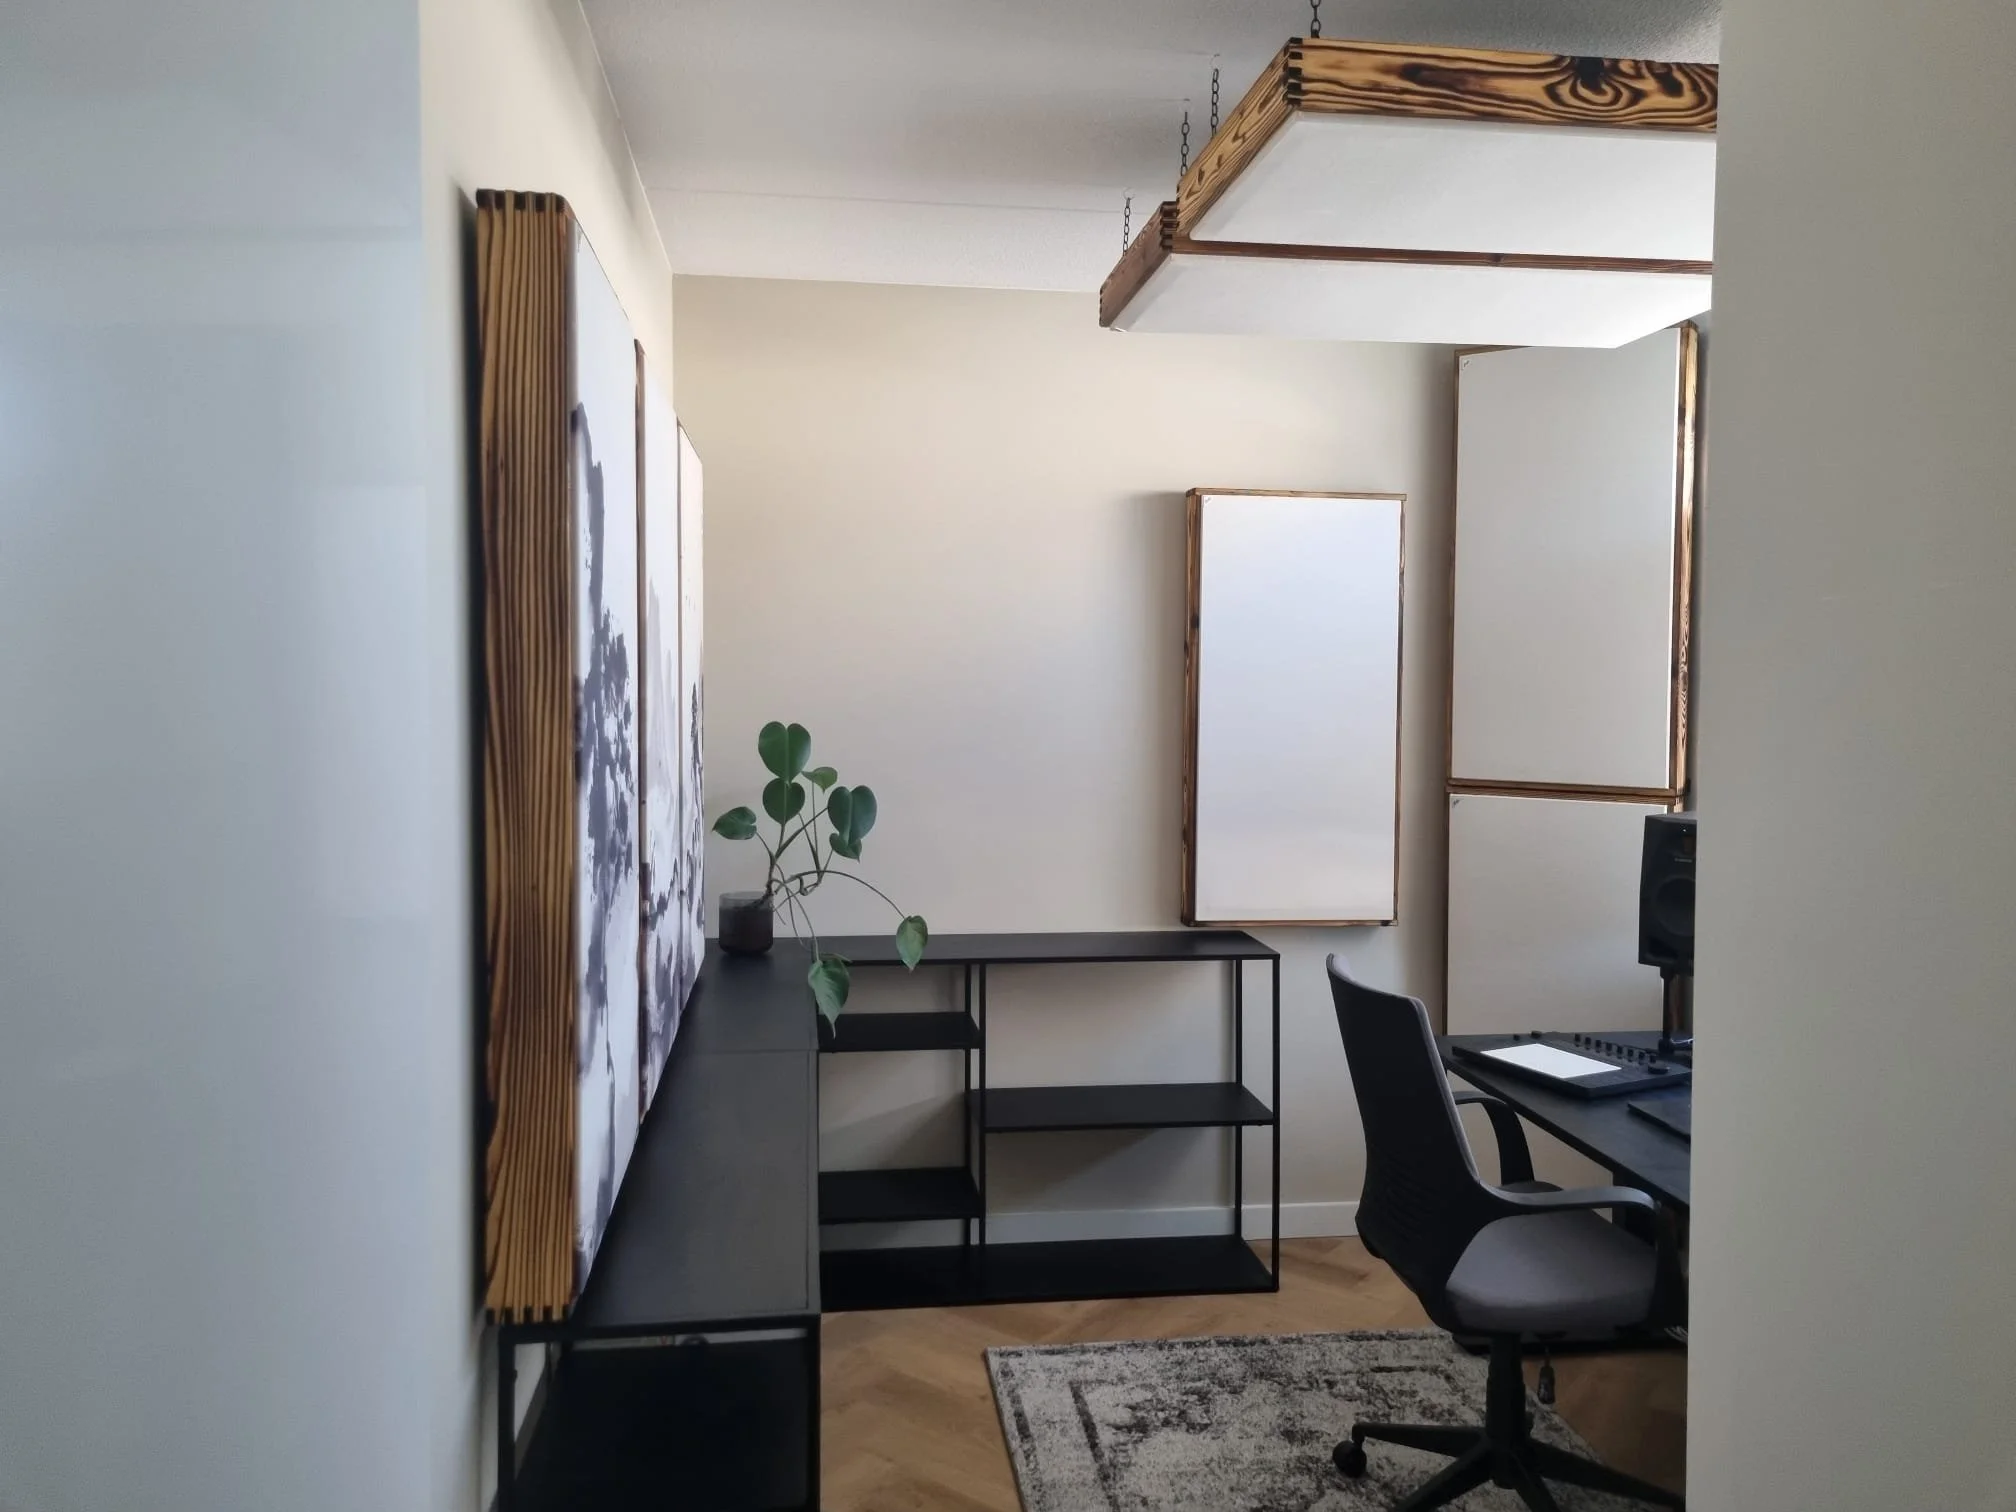
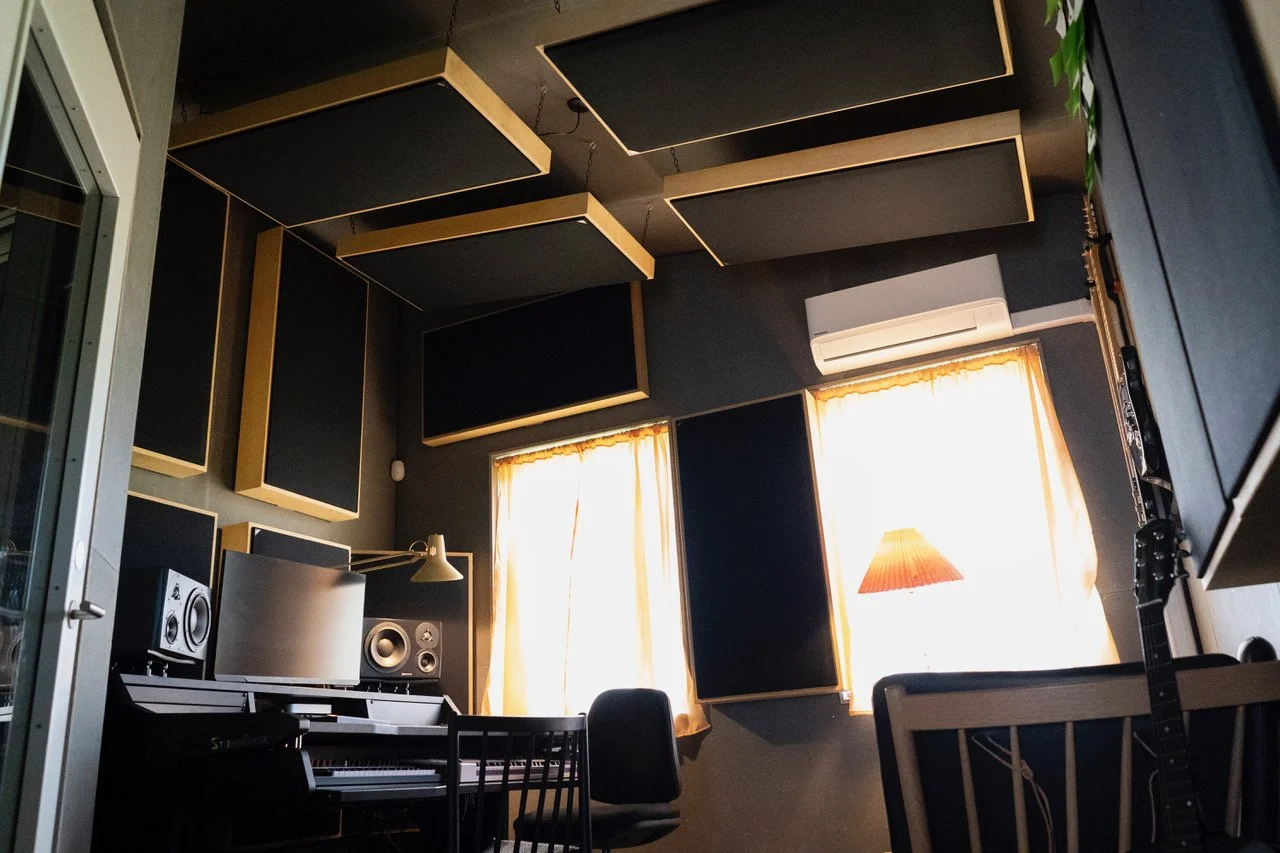
Home studio: Use of acoustic treatment
Mastering Your Music Studio with Acoustic Treatment
If you’ve invested in quality speakers for your music studio, mixing desk, or mastering suite, it makes no sense to introduce them to a lousy listening environment. Acoustic distortion is an invisible problem that haunts your entire room and affects every decision you make. If you are not ready to invest in acoustic treatment, you will never achieve truly professional, quality sound.
In this section, we detail how to eliminate distortion and achieve the highest quality sound for critical listening, mixing, and mastering.
Ekustik® Acoustic Treatment: Our Commitment
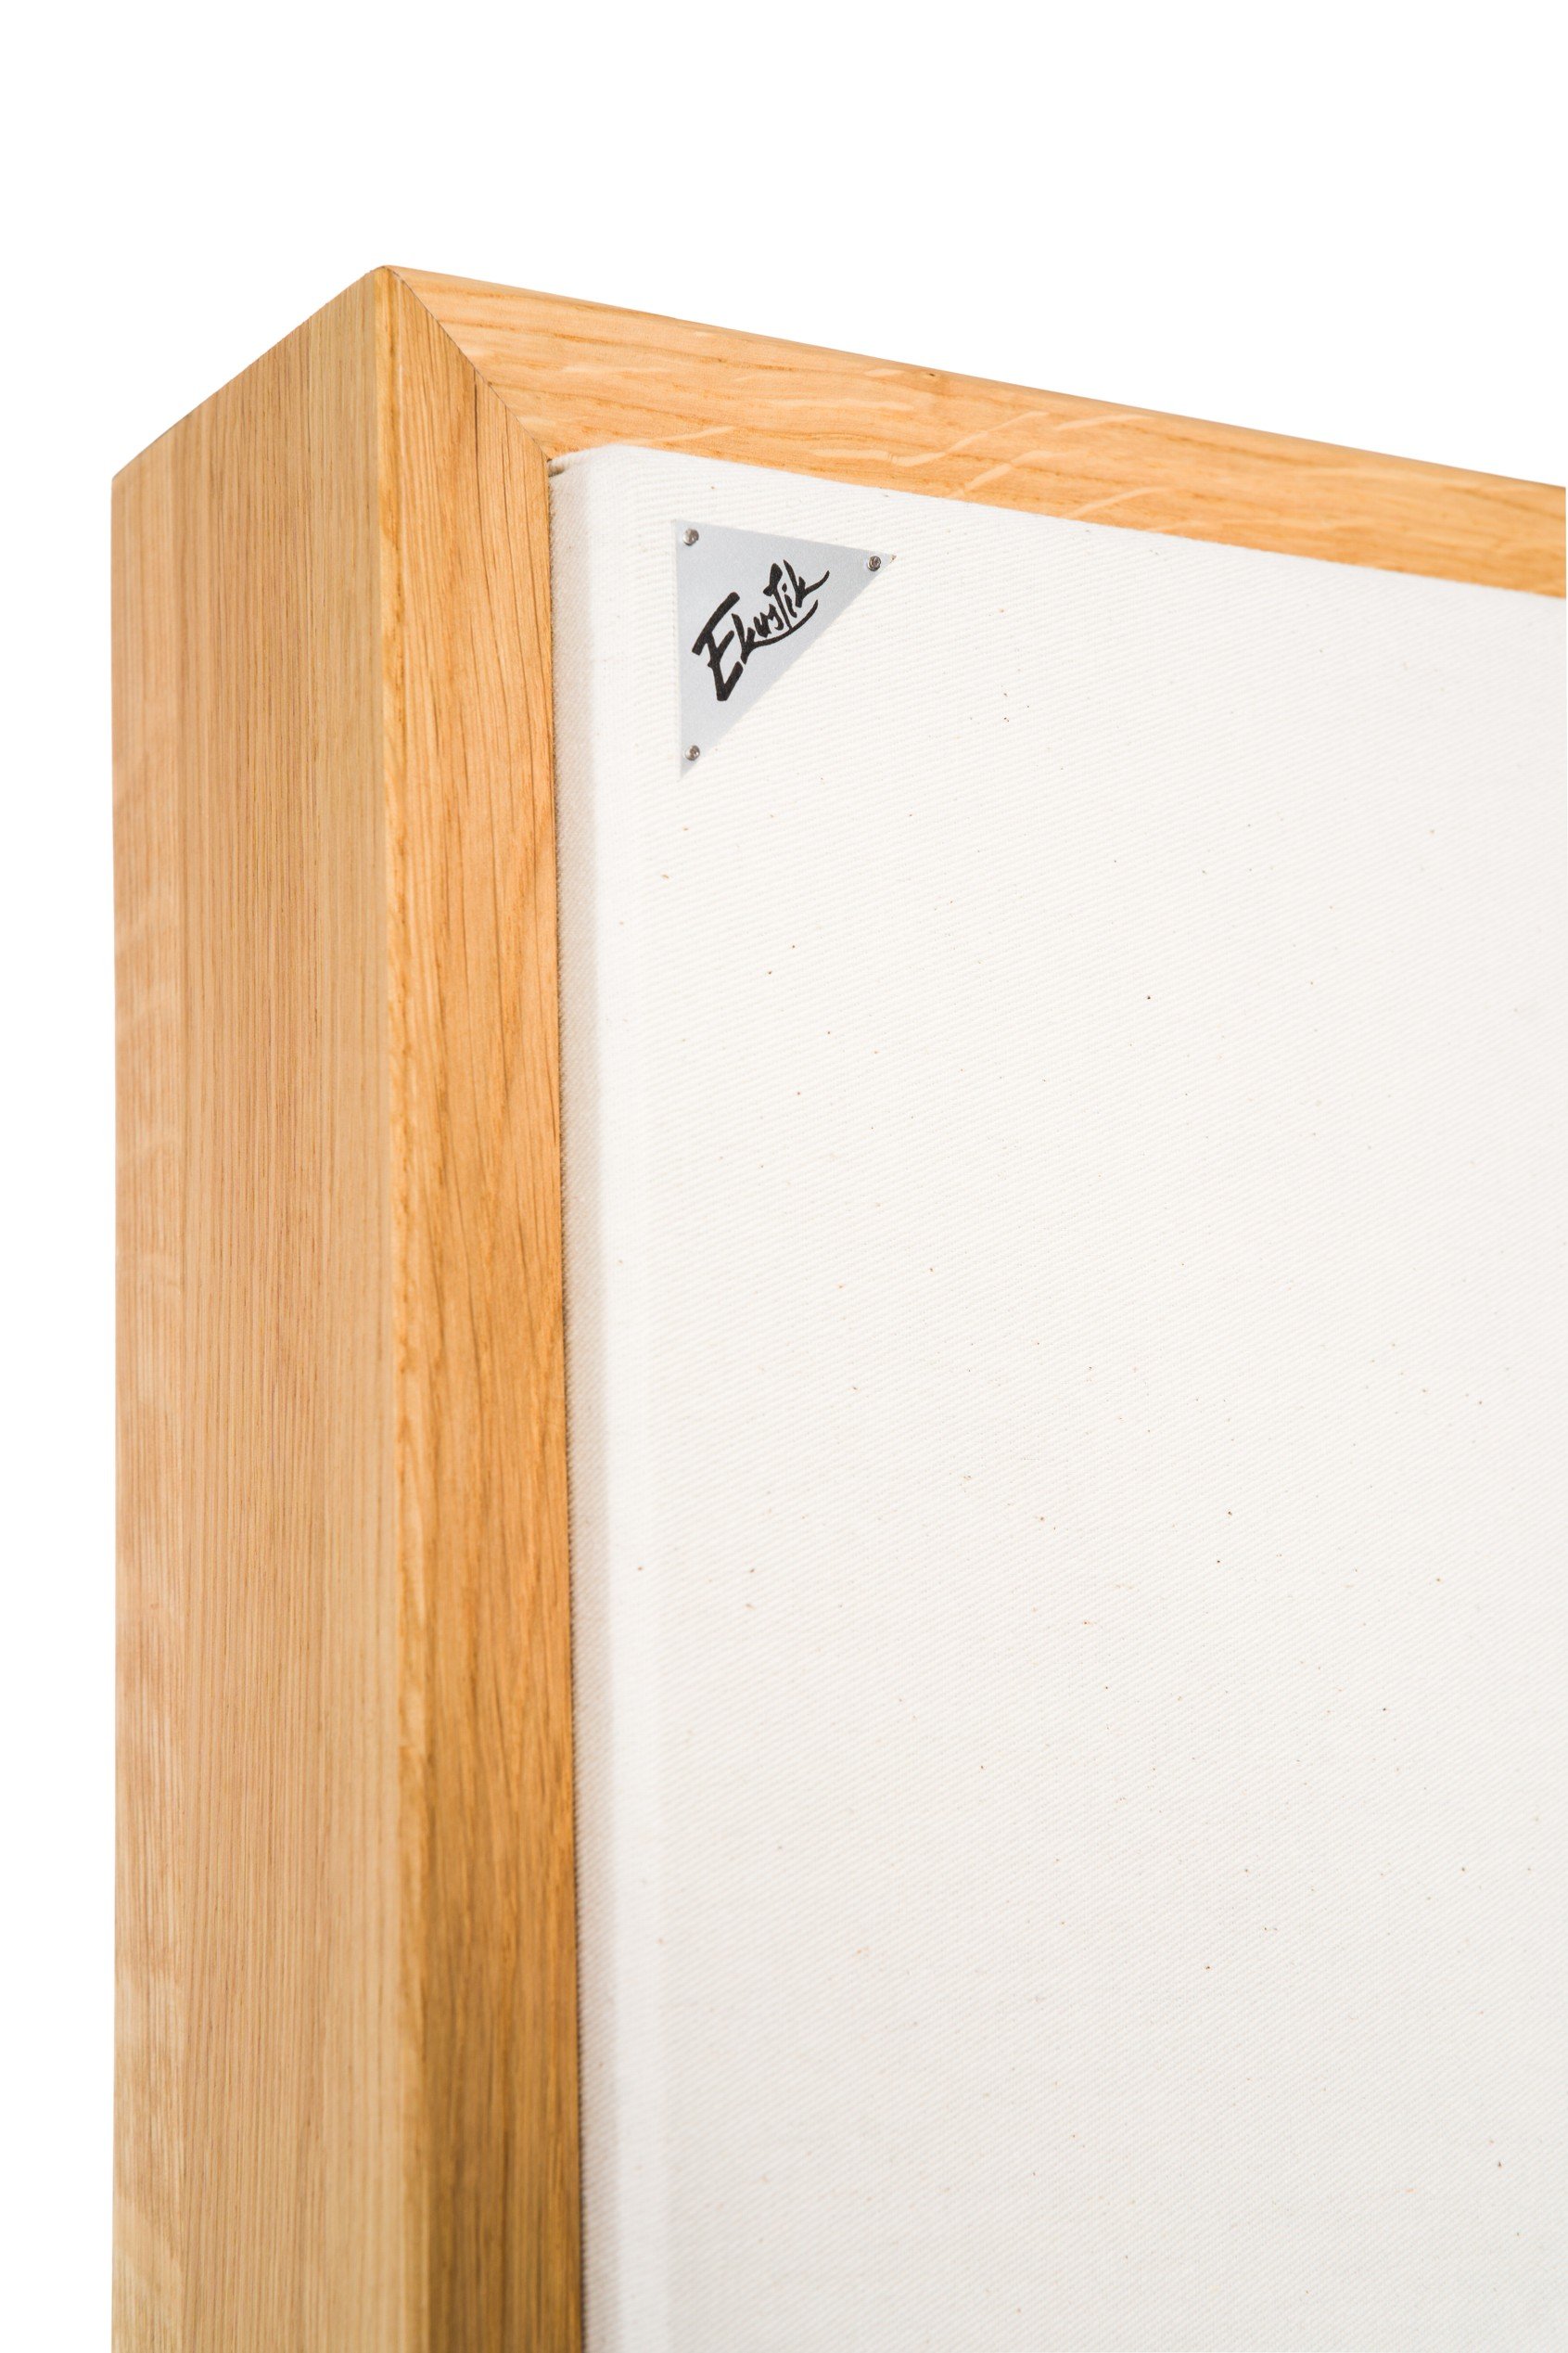
We have a solution for all your acoustic needs. All our products are made by hand and, thanks to our patented design, every piece is original.
Sustainable & Safe: Only sustainable and safe materials are used. Our acoustic filler is from recycled PET, not from glass or rock wool.
Full Spectrum Control: Ekustik® acoustic treatments are designed to for the whole frequency spectrum, from 40Hz to 10kHz+.


ABSORB Early Reflections and Create the RFZ


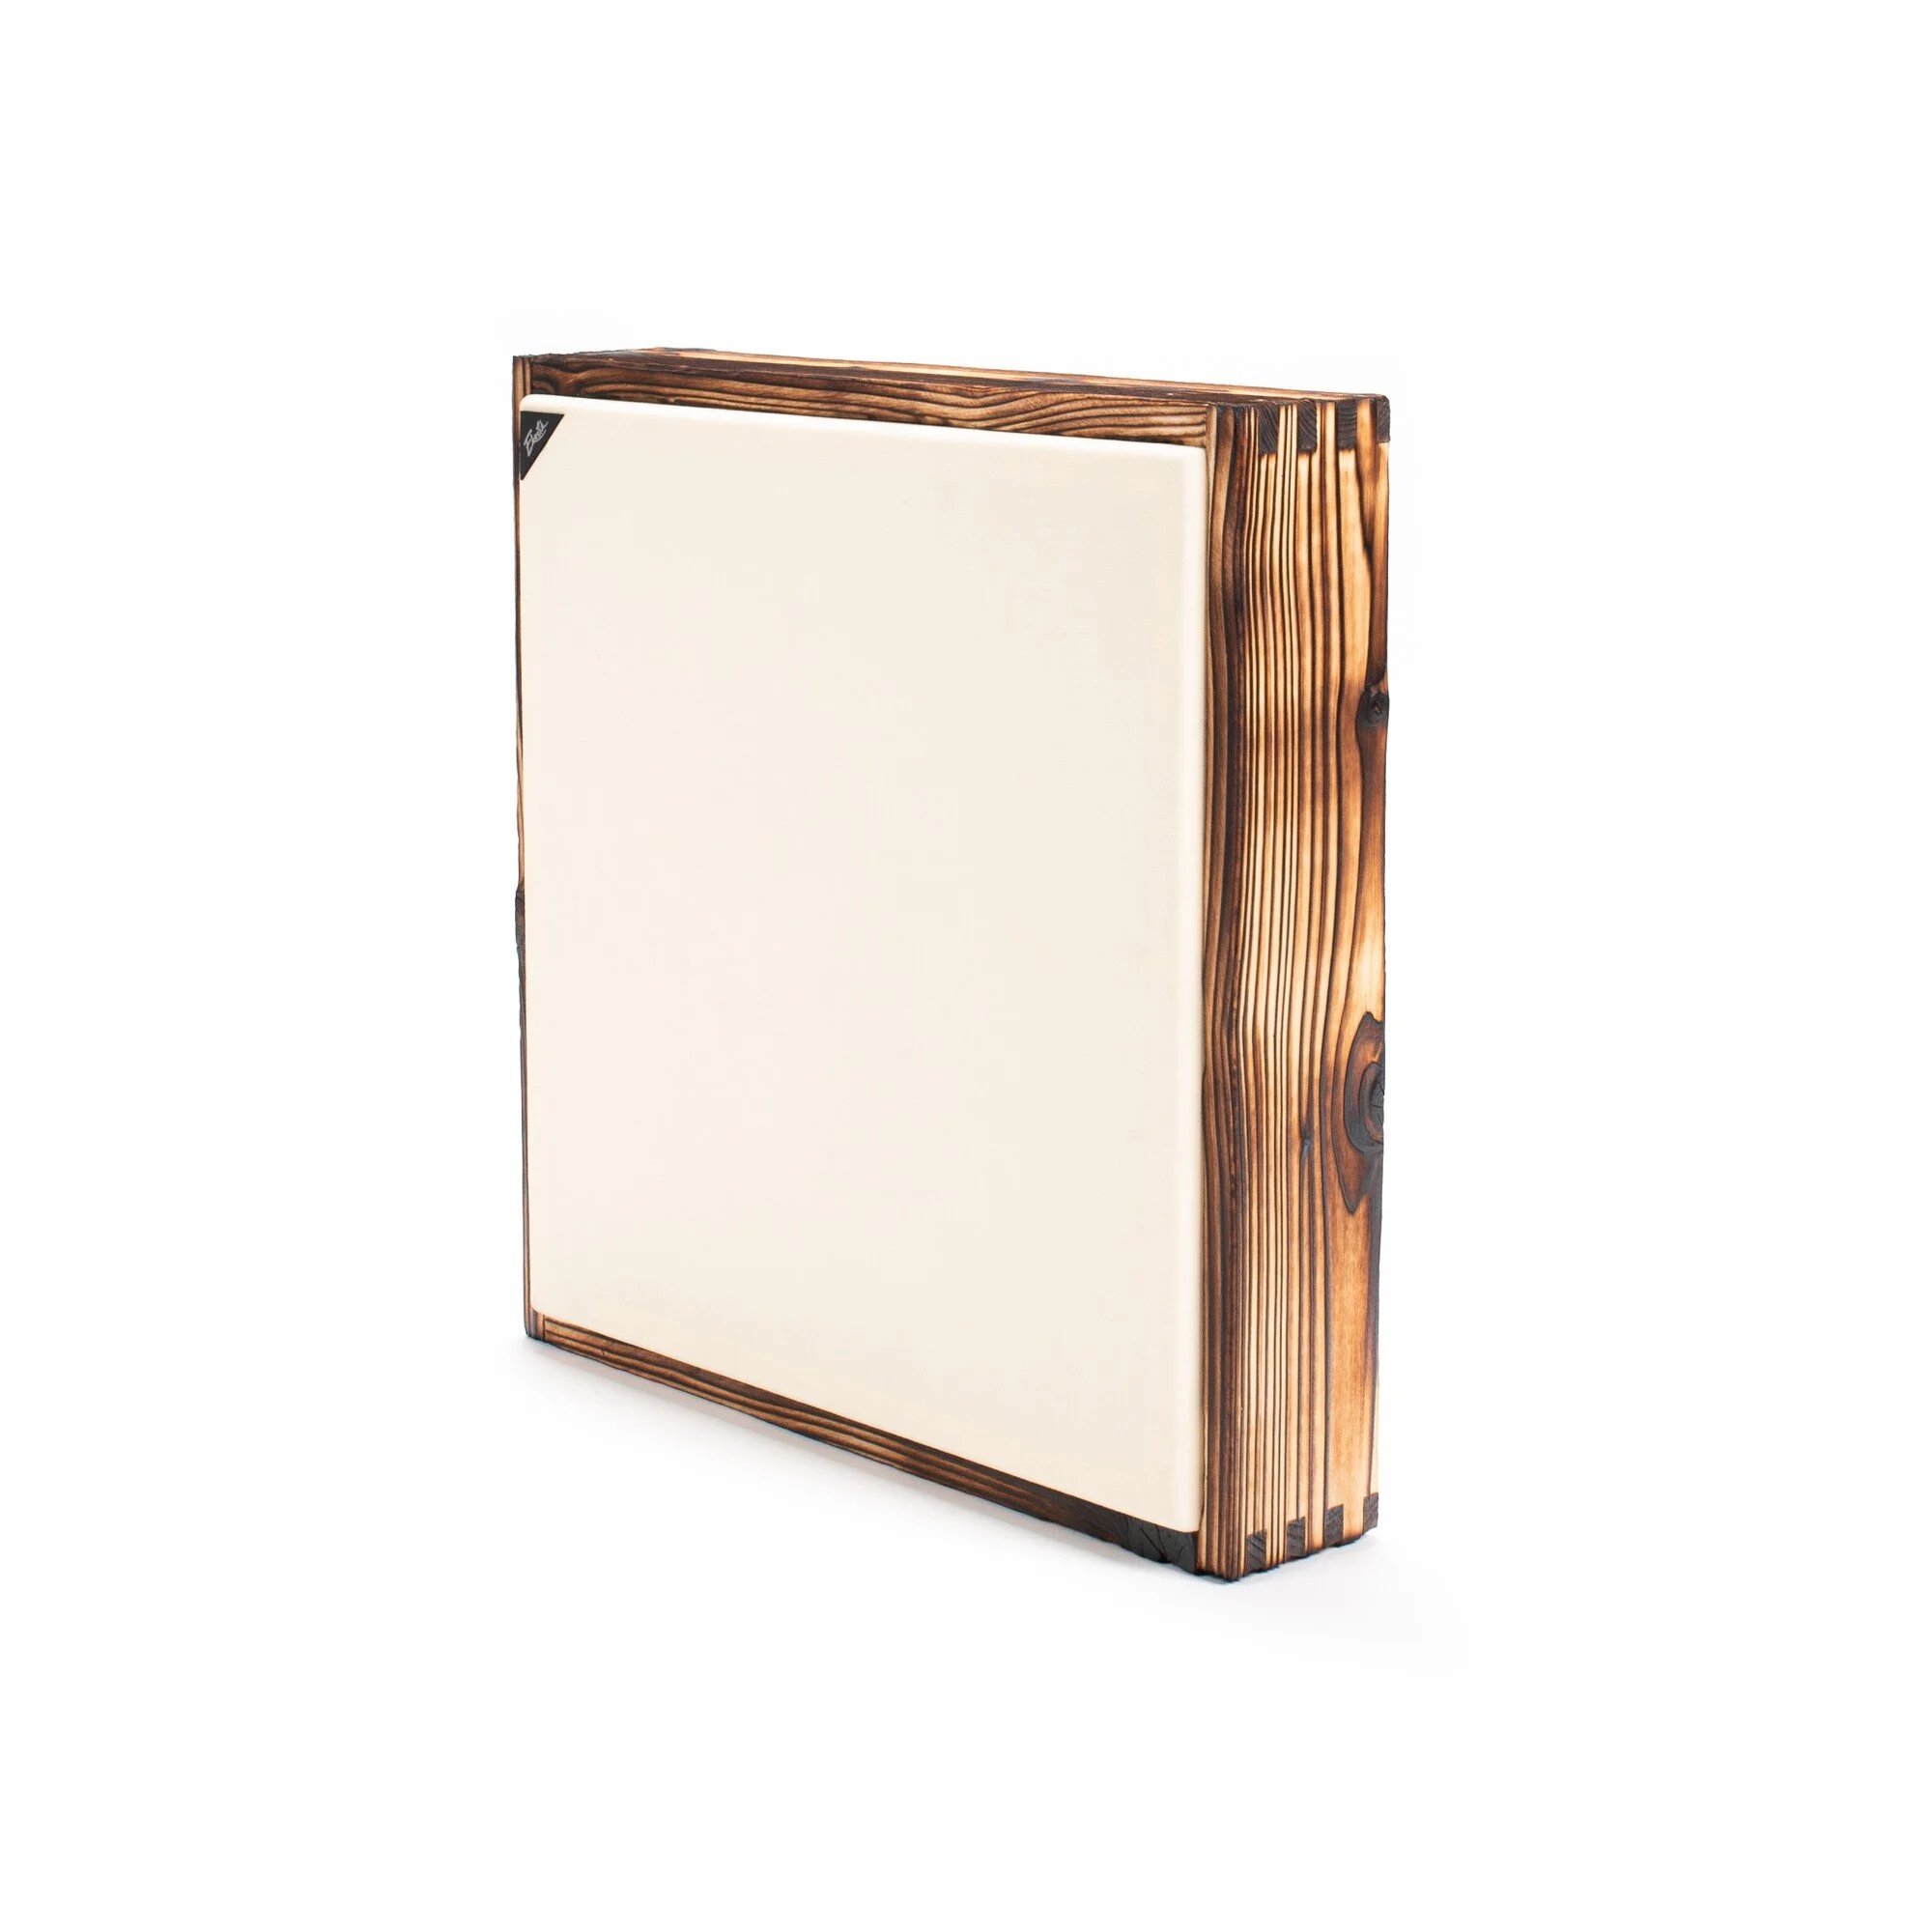
Improve your space instantly with Woody Queen acoustic panels.
Handcrafted from only sustainable, safe materials, they are the professional way to manage sound. They effectively reduce noise, create a clearer environment, and look beautiful doing it.
Key features:
Instant improvement of room acoustics and noise reduction
Absorption effectiveness already from 100 Hz
Acoustic material from recycled PET (OEKO-TEX®)
No mineral wool used - doesn’t release micro-particles into air
Luxury patented wooden design
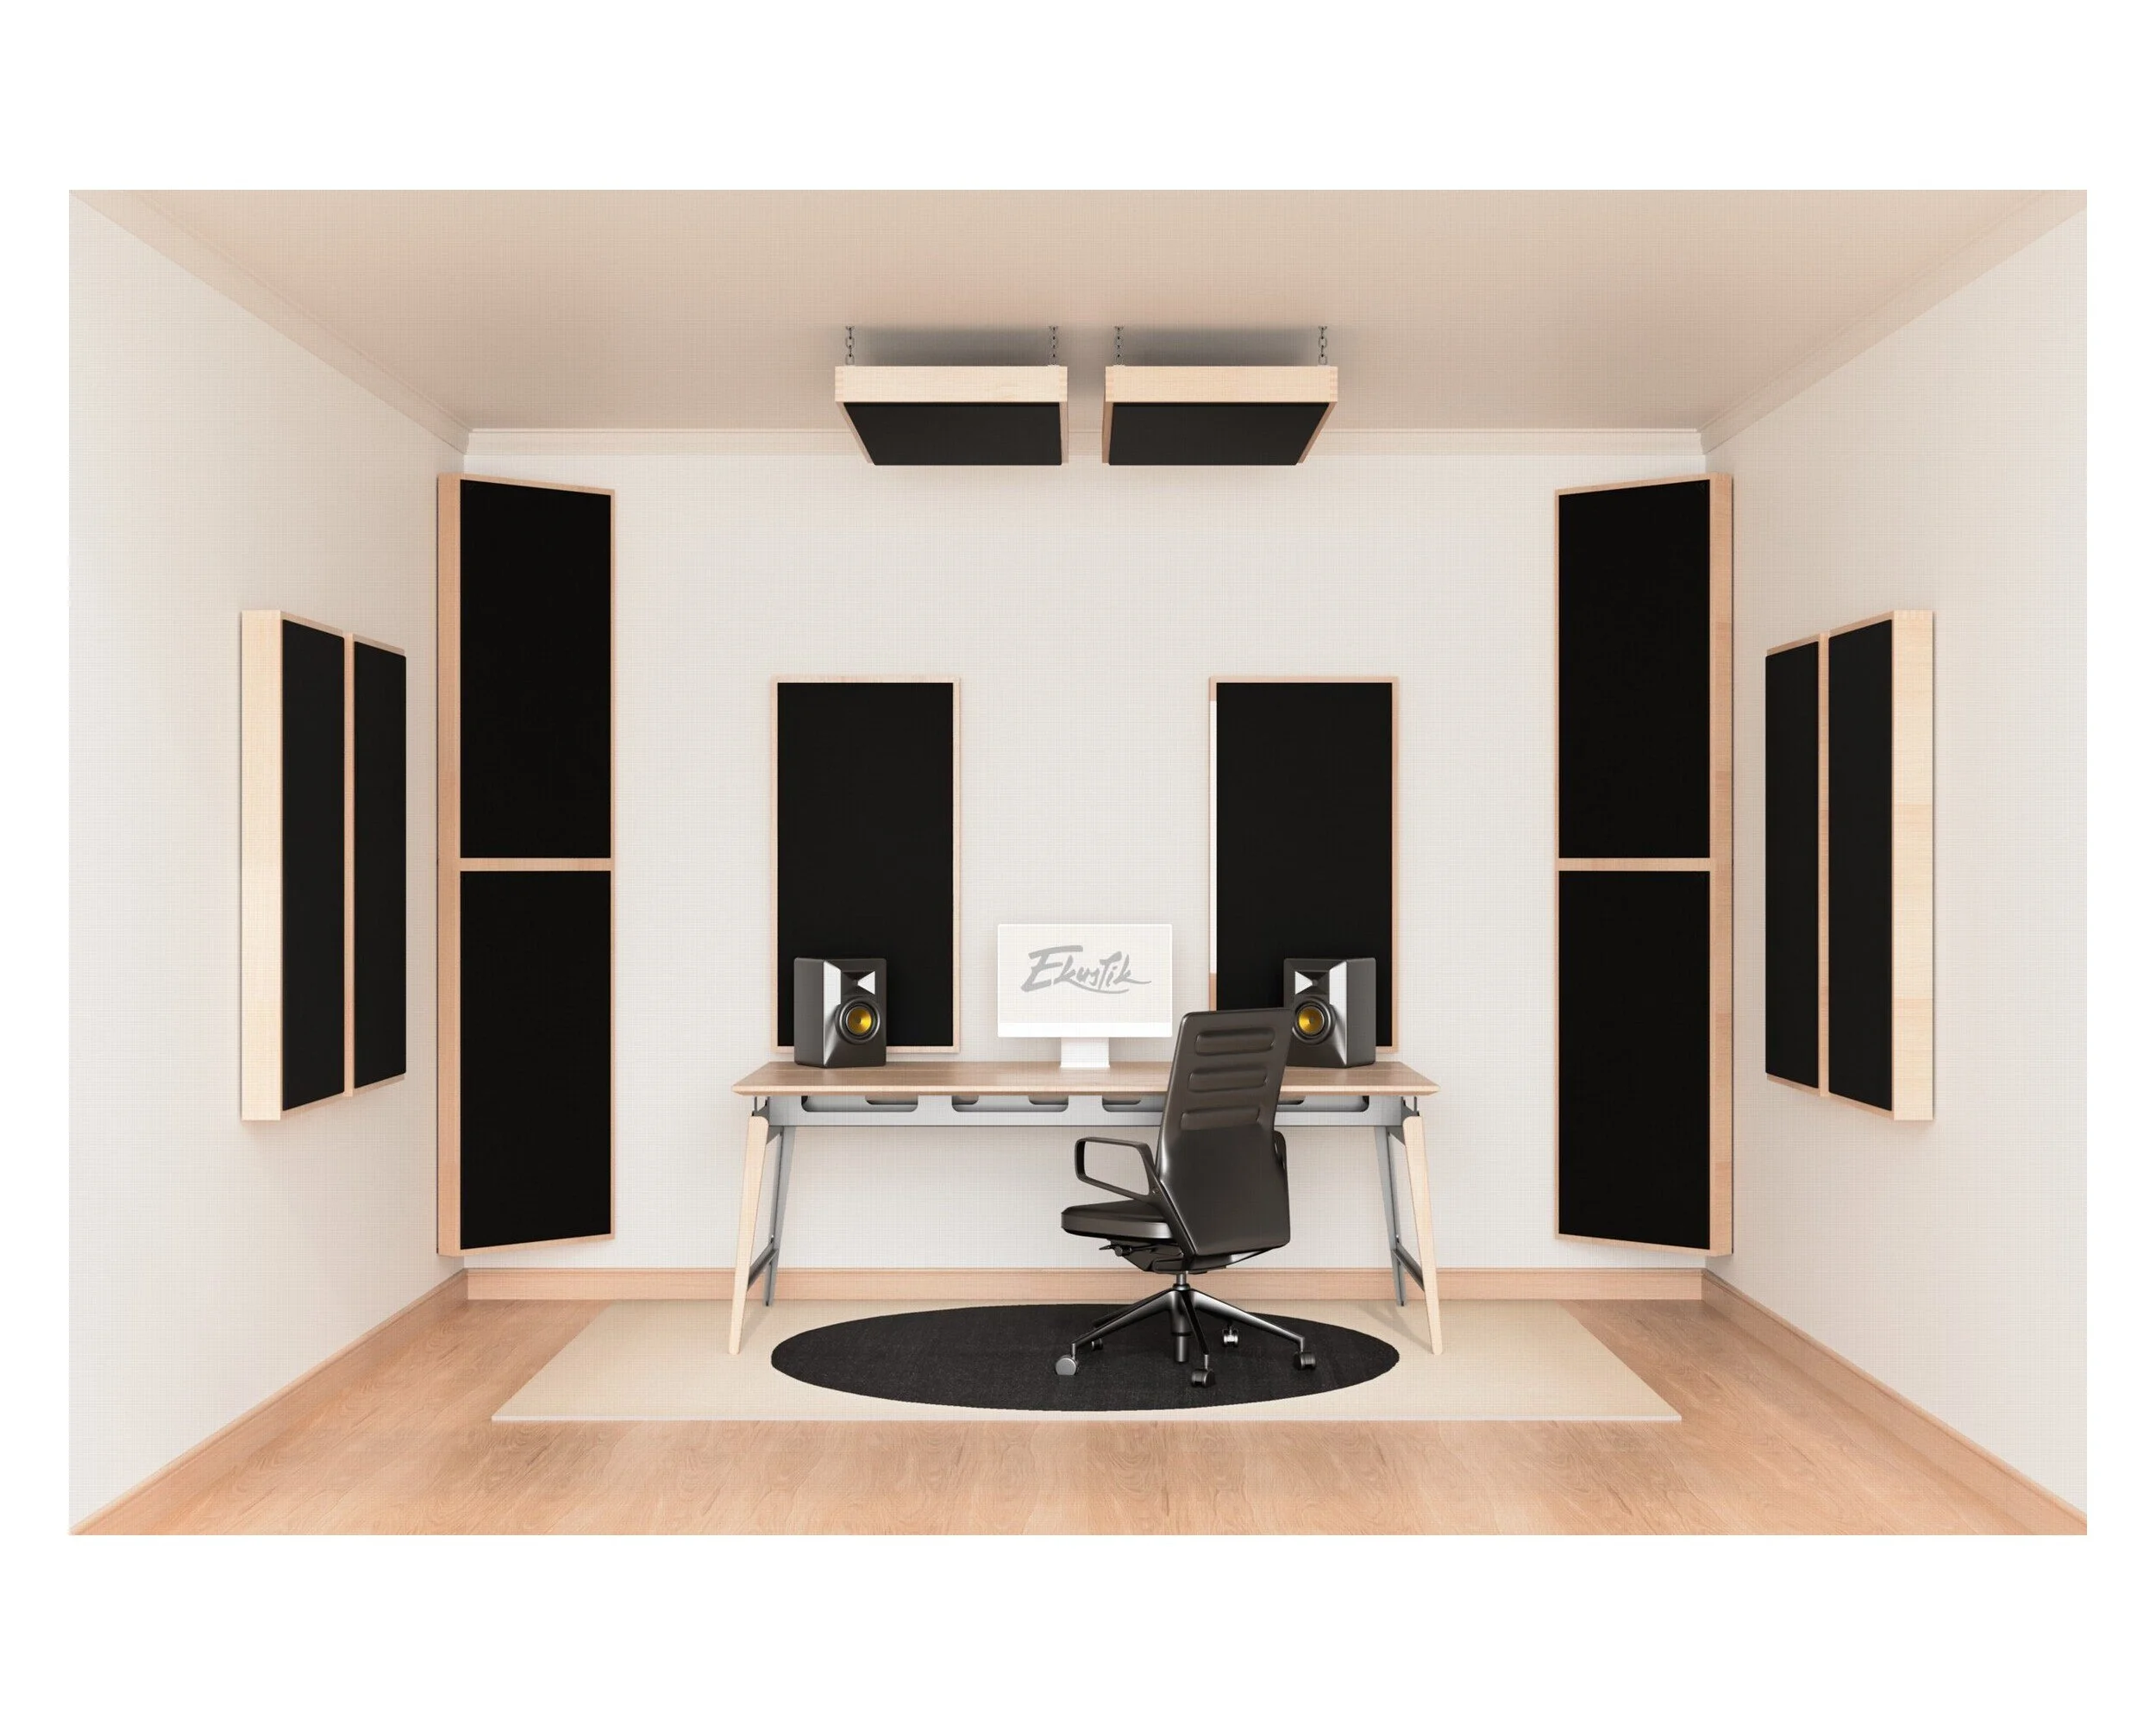
The basis of any acoustic solution is always formed by broadband absorbers placed on the first reflection points on the sidewalls and ceiling.
The Reflection-Free Zone (RFZ)
The first reflection points are where sound waves are reflected first, directly into your listening position. By absorbing the reflections here, you will hear only the direct sound from your speakers, not the sound that bounces off the walls.
Why It Matters: If these points are left untreated, the early reflected sound waves mix with the direct sound, causing sound blur and masking crucial details—making the sound distorted and unsuitable for critical mixing.
The Goal: You must create a Reflection-Free Zone (RFZ) around the listening position. This ensures you only hear the pure, direct sound from the speakers.
Placement Priority: If you have a limited budget, the first reflection points are where you must place your first absorbers.
Choosing Your Absorbers
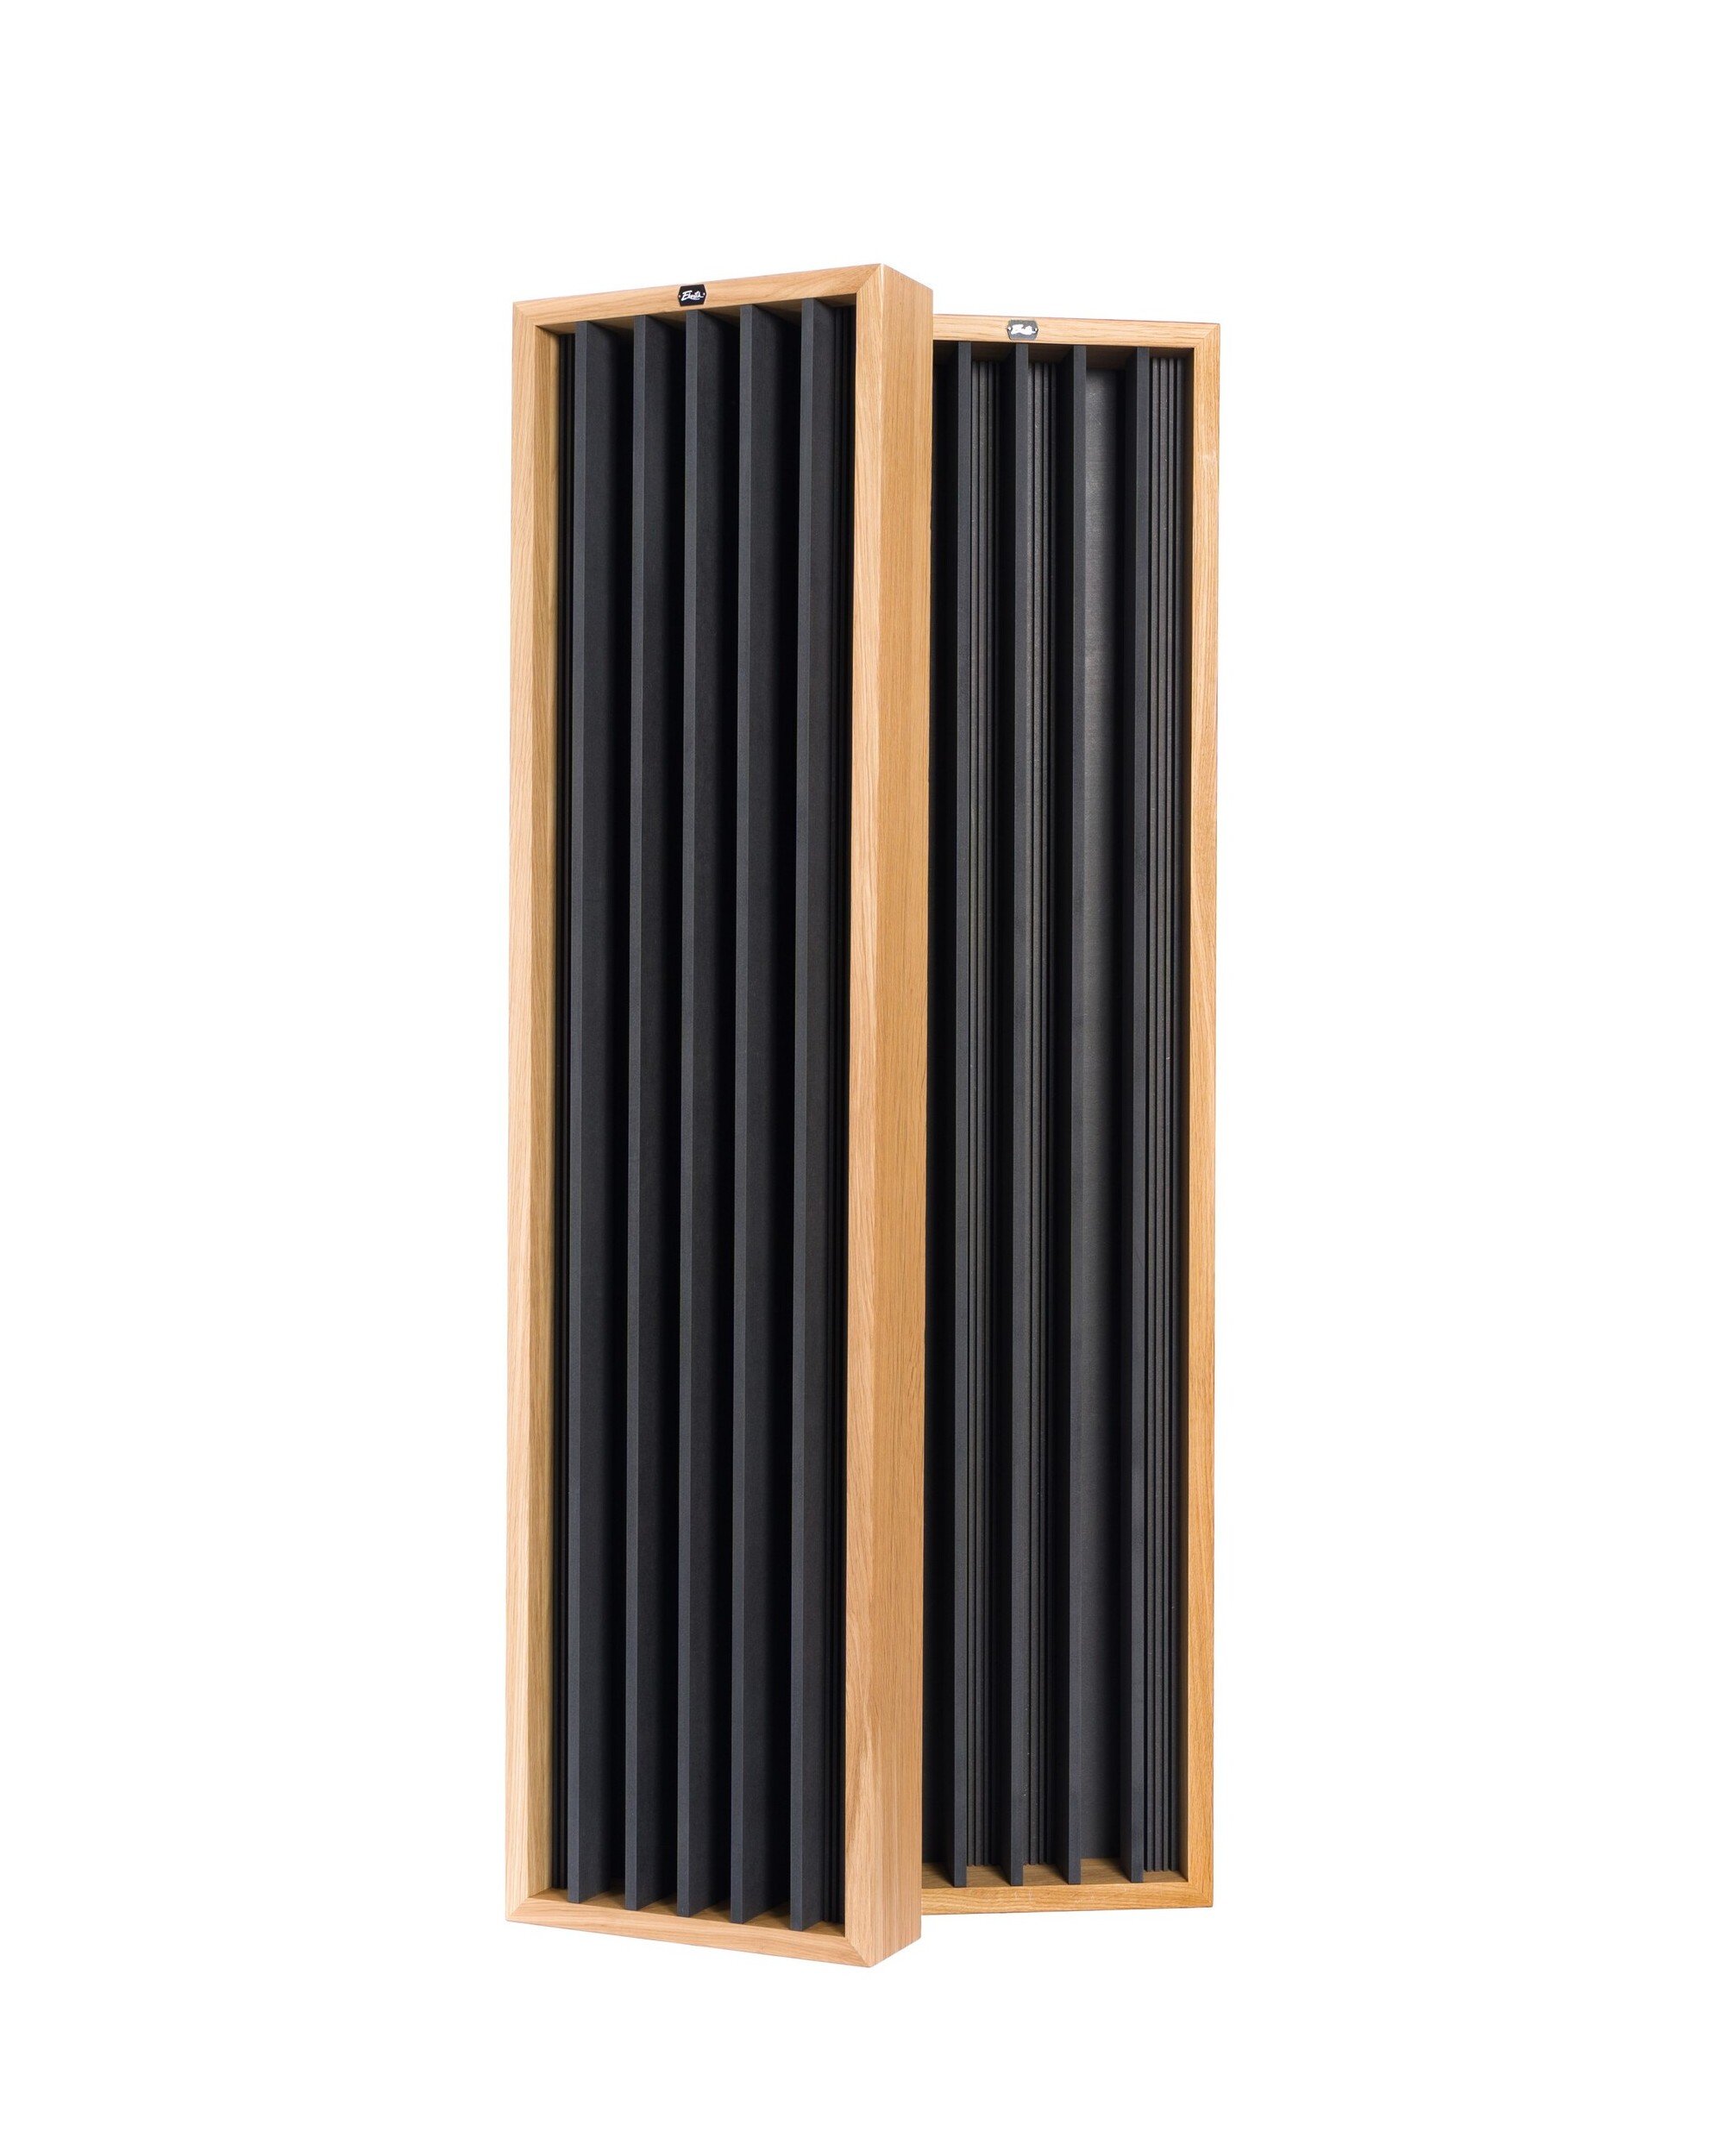
The easiest and most cost-effective way to treat the first reflection points is using broadband absorbers like the Ekustik Woody.
Minimum: 5 cm deep absorbers are the absolute minimum.
Ideal: 10-15 cm thick absorbers ensure sufficient absorption, especially at lower frequencies. The deeper the panel, the more efficiently it absorbs lower frequencies.

Standard acoustic treatment for a room with a two-channel sound source.

Standard acoustic treatment for a room with a surround sound source.
Tip for Demanding Users: The "Dead End" Zone
For the ultimate level of detail and accuracy in your studio, the goal is to make the walls disappear in the front half of your room.
This follows the classic studio acoustic principle known as LEDE (Live End Dead End). We want to treat the area where the sound originates (the front of the room) as the Dead End.
To achieve this, almost the entire ceiling and front wall should function as a giant broadband absorber. It is advisable to place as many broadband and bass absorbers in the front half of the room as possible. This treatment makes the room sound as if the front surfaces simply do not exist, ensuring you hear only the pure, direct sound from your speakers.
The back half of the room is then typically treated as the Live End using diffusers to maintain a healthy sense of space and liveliness.
Tip for Hi-Fi and Home Theaters: Balancing Sound
When designing a room purely for critical listening or home cinema, you generally do not want complete absorption at the first reflection points. Over-absorption can make the room sound sterile and unnatural.
Instead, a combination of absorption and diffusion (roughly 50/50) is more suitable. This balanced approach controls detrimental echoes while using diffusion to maintain the essential liveliness and spaciousness of the sound.
Be aware that while this offers the best sonic result for immersive listening, this variant is typically more costly because acoustic diffusers are generally more expensive to produce than absorbers.
Low-Frequency Absorption: Mastering the Bass Spectrum
It's universally accepted that while it's straightforward to control high frequencies, it is significantly challenging to shorten the reverberation time at low frequencies. This is where most untreated rooms, particularly smaller ones, fail.
The Problem of Bass Chaos
All small, enclosed spaces without dedicated treatment are acoustically "haunted" by low-frequency chaos. This problem is primarily rooted in:
Room Modes: The inherent collection of resonant standing waves within the room's geometry.
Speaker-Boundary Interference Response (SBIR): The destructive interaction between the speakers and the nearest reflecting surfaces.
If treatment focuses only on mid and high frequencies, the resulting sound will be tonally unbalanced: clear but sterile highs, contrasting sharply with sloppy and booming lows.
Your Advanced Low-Frequency Toolkit
If you are working in a small, acoustically untreated room, this problem affects you—guaranteed. You have three primary, professional tools to control and stabilize the low end:
Correct Speaker Placement: Intelligent positioning to minimize the negative impact of SBIR.
Broadband Bass Absorbers (Bass Traps): Used in corners and at boundaries to provide sufficient absorption across a wide low-frequency range.
Tuned Resonators: For precision control, deploy the Woody Resonator. These devices are specifically designed to be tuned to absorb a narrow frequency spectrum, targeting and attenuating the most problematic, specific room modes (e.g., a peak at 45 Hz) that broadband absorbers cannot fully manage.
By deploying this combined approach, you achieve a stable, neutral, and accurate low-frequency response essential for professional mixing and mastering.
Why Corners are Critical
You should prioritize placing bass absorbers in the corners of the room because low-frequency sound waves have their highest energy concentration at these boundaries. When sound waves interact with multiple walls simultaneously (two walls for a seam, three walls for a vertical corner), the pressure component of the wave is maximized. Placing broadband bass absorbers here intercepts the highest amount of bass energy, making it the most efficient starting point for controlling bass chaos.
For initial treatment, focus on the front vertical corners of your room—the ones closest to your speakers and listening position. Taming the energy where it is generated and most intense will yield the most immediate and significant improvement in your low-end response.


Position of the bass traps - in the corners


Diffusion: Adding Liveliness and Space
Now that we know how to absorb reflections, we introduce the another important participant: diffusers. These panels scatter sound waves, helping us reach an acoustically balanced room.
Effect of Diffused Sound
Acoustic diffusers reduce unwanted echoes by scattering sound waves in many directions. Unlike absorbers, diffusers keep your room lively because they do not absorb sound energy—they only redistribute it. With the right combination of absorbers and diffusers, you can achieve the best sound expression.
Placement of Diffusers
Standard Use (Rear Wall): The diffuser is recommended on the back wall only if it is located at least 2 meters behind the listening position. This setup, combining corner bass absorbers and a central diffuser, scatters higher frequencies, creating a sound with excellent spaciousness. You'll see this configuration in every professional studio with adequate space.
Smaller Rooms: If the listener is closer than $2\ \text{m}$ to the back wall, it’s recommended to place a broadband absorber there instead of a diffuser. There isn't enough space for the sound diffusion field to develop, which would limit its effectiveness.
Hi-Fi Use (Sidewalls): Diffusers are often used on side walls—either at the first reflection points or further back—to add liveliness to the space. However, this usage is generally not advised for smaller home studios, as there won't be enough space for the sound to diffuse evenly. If you have a wide room with a lot of space between the speakers and sidewalls, it could be worth considering.
Advanced Use (Front Wall): Audiophiles sometimes place a diffuser on the front wall to create the illusion of "extruding the walls" and adding greater room space.

The ideal acoustic solution for a music studio. The acoustic diffuser is located behind the listening position to disperse the mid and high frequencies, while the massive bass absorbers in the corners and on the back wall absorb low frequencies.


Looking for Balance: The Main Rules
Finding the right balance of absorption and diffusion in your space is essential for achieving a professional result.
Key Rules of Thumb
Professional Coverage: A professional studio has walls covered with acoustic panels on at least 50 % of the area.
Home Coverage: In home conditions (for rooms around 15-20 sqm), aim for at least 30 % of the wall area.
Starting Point: Always start with absorbers at the first reflection points and bass absorbers in the corners.
Symmetry: Focus on the symmetry of the left and right sidewalls.
Reverberation: Avoid leaving two opposite walls completely bare to prevent flutter echoes.
Flooring: You can use a small rug to absorb floor reflections. Avoid wall-to-wall carpet, as it absorbs high frequencies more than lows.

You always start with absorption to create a RFZ. Even in funky-shaped rooms.
Reverberation Time (RT60)
The reverberation time (RT60) is the time required for the sound pressure level to drop by 60 dB. This measures the "liveliness" of the space. In smaller rooms, we often use RT30 (a 30 dB drop) for greater measurement accuracy.
Ideal Mixing/Mastering: For a small music studio, aim to keep the RT60 between 0.2-0.4 seconds (between 250 Hz and 4 kHz).
Professional Standard: The best music studios in the world are acoustically treated to keep the reverberation time below 0.3 seconds.
What Sound Should You Expect?
The acoustic treatment of your room will ensure a perfect connection with the music. You will experience a new level of depth and clarity in your recordings, allowing you to hear sharp detail and the full dynamic range. If you are a hi-fi audiophile, you will finally hear the real sound of your speakers. You will be able to close your eyes and transfer yourself to the room where the song was recorded.
In short, if you treat your room according to the rules listed here, your ears will thank you every day.
Final Check: Putting It All Together
Congratulations! You now have a comprehensive understanding of the principles required to transform your room into an accurate acoustic environment for mixing, mastering, or critical listening.
A high-quality sound environment is achieved by the strategic combination of just three factors—none of which can be skipped:
Placement First (Free Improvement):
Establish your precise Listening Position (using the 38 % rule as a starting point).
Optimize Speaker Placement (equilateral triangle, correct height, and isolation).
Manage Speaker-Boundary Interference Response (SBIR) by choosing one of the three strategic wall distances.
Absorption Foundation (Clarity and Control):
Absorb Early Reflections on walls and ceiling to create the Reflection-Free Zone (RFZ).
Tame the Low-Frequency Chaos using broadband bass absorbers in the corners (starting with the front corners).
Refining the Balance (Liveliness and Space):
Introduce diffusers (like the Woody Fractal 34) to the rear of the room to maintain a natural sense of spaciousness without introducing destructive reflections (Live End).
Target specific, persistent low-frequency issues with tuned resonators if necessary.
Aim for your target RT60 decay time between 0.2-0.4 seconds to achieve balanced sound and professional clarity.
The combination of strategic speaker placement and acoustic panels will enhance your listening experience far beyond what speakers alone can provide. If you could equip your home studio to this level, you would be an absolute winner in the fight against acoustics.
Your Journey Doesn't End Here
Now that you have the knowledge, your next step is action. Don't hesitate to show us your projects! Remember that each room is unique, and if you have any doubts, we are here to help you personally at any time. Contact us even if you would like to have your entire studio professionally designed—we can make that happen.
Your ears will thank you every day for the work you put in today.
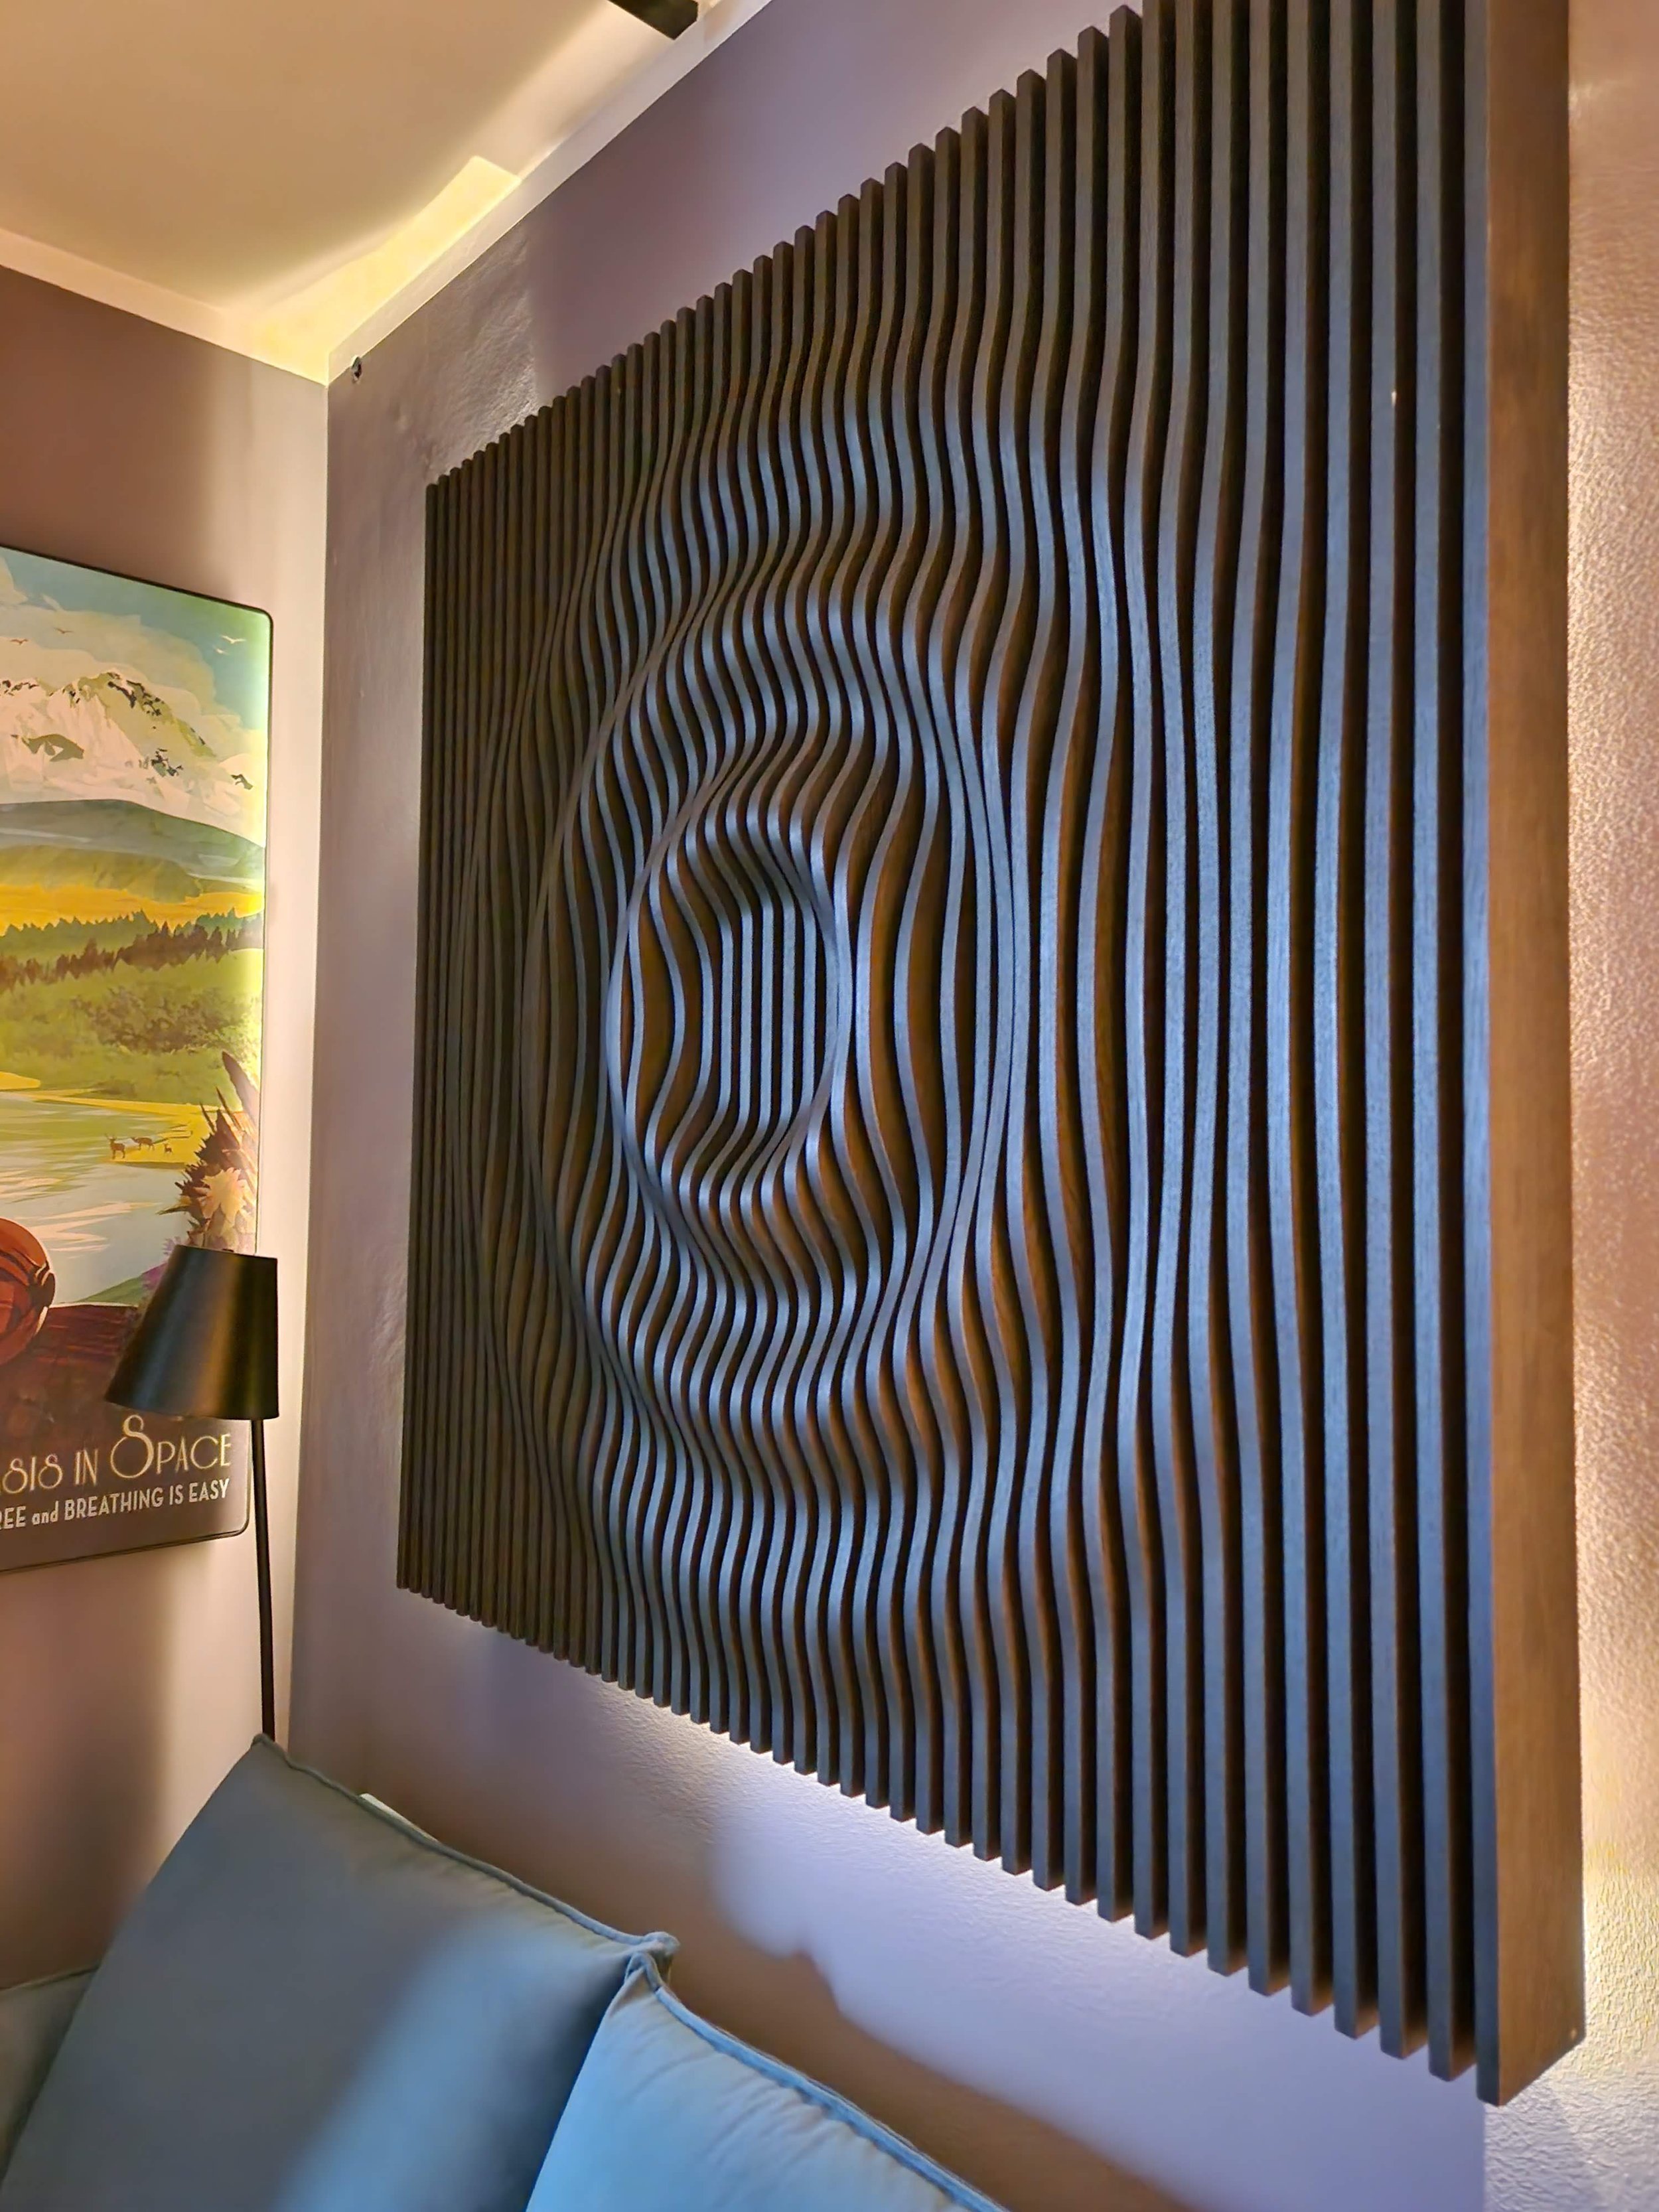
Get inspired by the home studios from Ekustik® Customers